Painting a ceiling may seem daunting, but with the right tools and techniques, you can achieve a flawless finish. Follow this easy step-by-step guide to get professional results in just two hours.
Timeframe: 2 Hours
Skill Level: Intermediate
Tools Required:
To complete your ceiling painting project, you’ll need:
- Paint: 4L matte or low-sheen ceiling paint from a reputable brand such as Dulux.
- Paintbrush: High-quality synthetic bristle brush for precise edges
- Roller: Medium nap roller (10-18mm) for even application
- Paint container: Small pot for easier handling while cutting in
- Rolling equipment: Roller tray and extension pole for accessibility
- Protection materials: Painter’s tape and drop sheet to safeguard surfaces
Painting a Ceiling
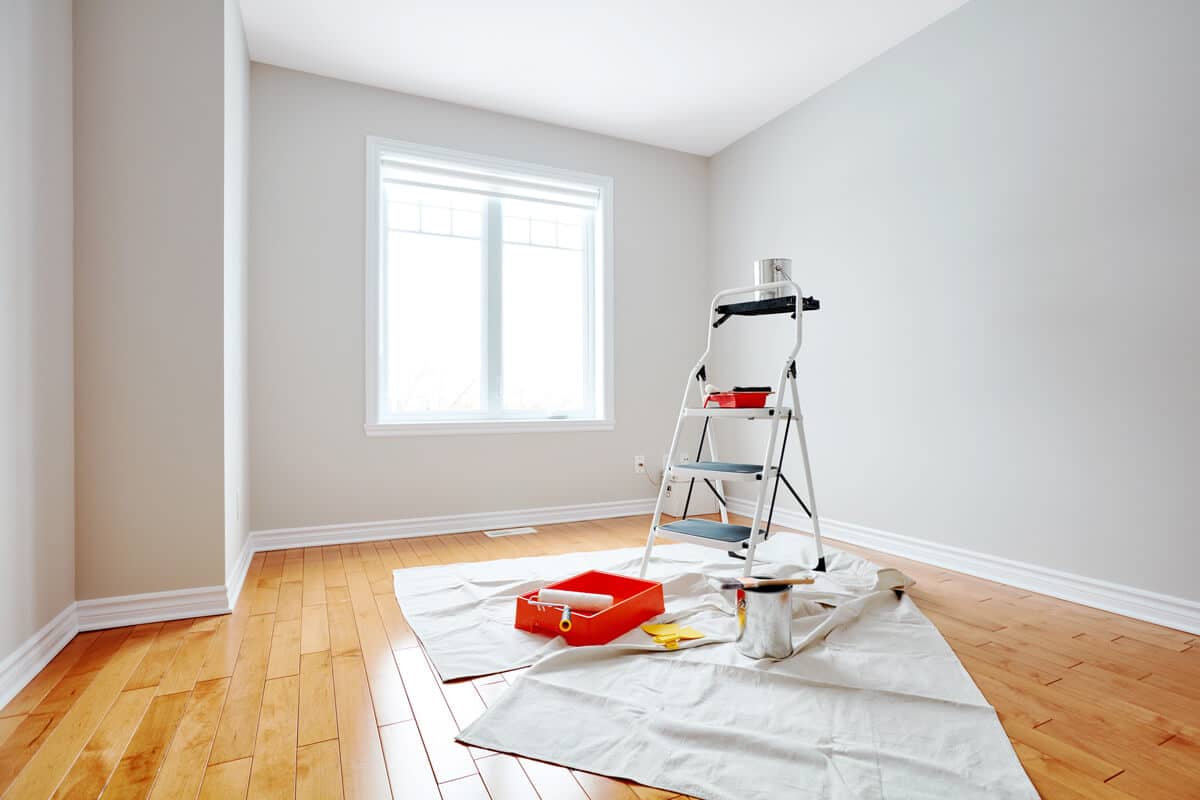
Step 1: Preparation
Proper preparation is key to achieving a smooth and long-lasting finish.
- Fill any holes or cracks using a fast-drying filler. Allow it to dry completely.
- Lightly sand the ceiling with fine sandpaper to create an even surface.
- Remove dust with a damp cloth and clean the surface using a mild detergent solution to eliminate dirt and grime.
- Protect furniture and floors by laying a drop sheet on the floor to catch any drips.

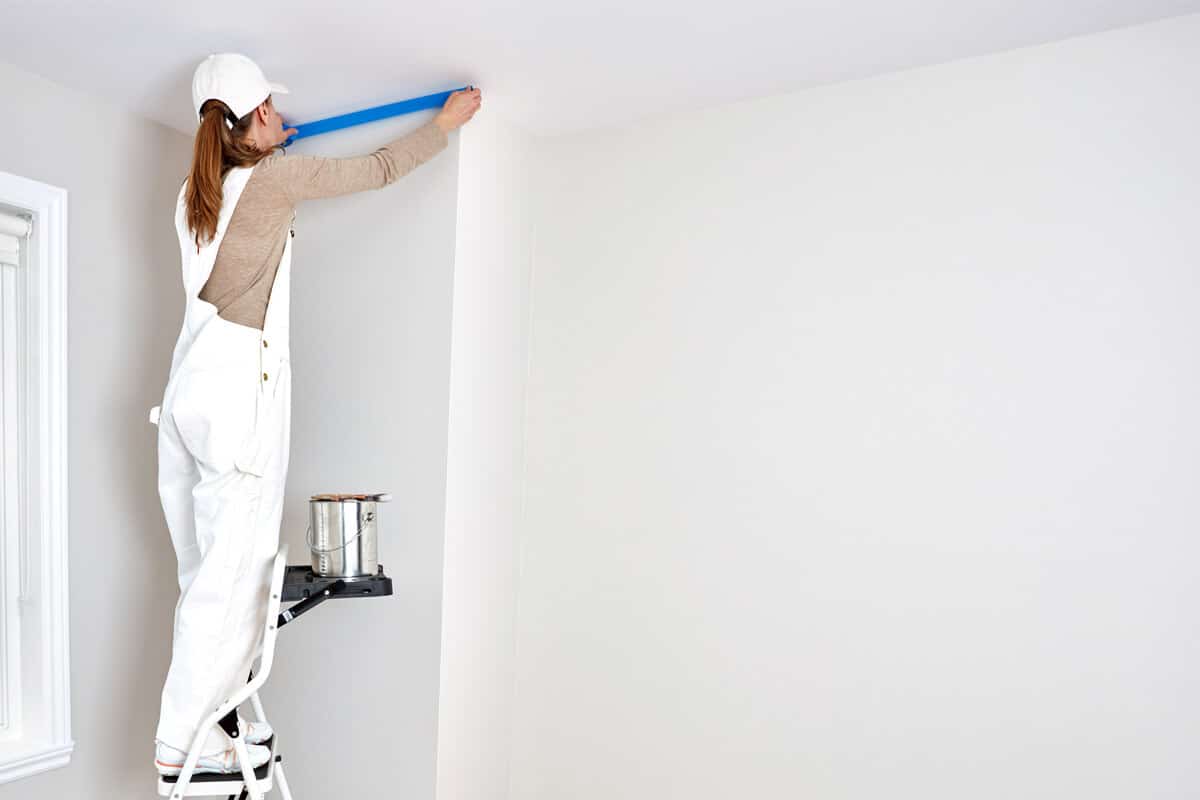
Step 2: Cutting In
Cutting in is essential to ensure clean, sharp edges and a professional finish.
- Protect surrounding areas by taping around cornices, edges, and downlights.
- Use a high-quality synthetic paintbrush to paint along the edges where the roller won’t reach.
- Cut in one section at a time to maintain a wet edge and prevent visible brush marks.
- Avoid overloading the brush—apply an even amount of paint for smooth application.
Pro Tip: Work quickly and blend the edges with the roller as you go to avoid a ‘picture framing’ effect.
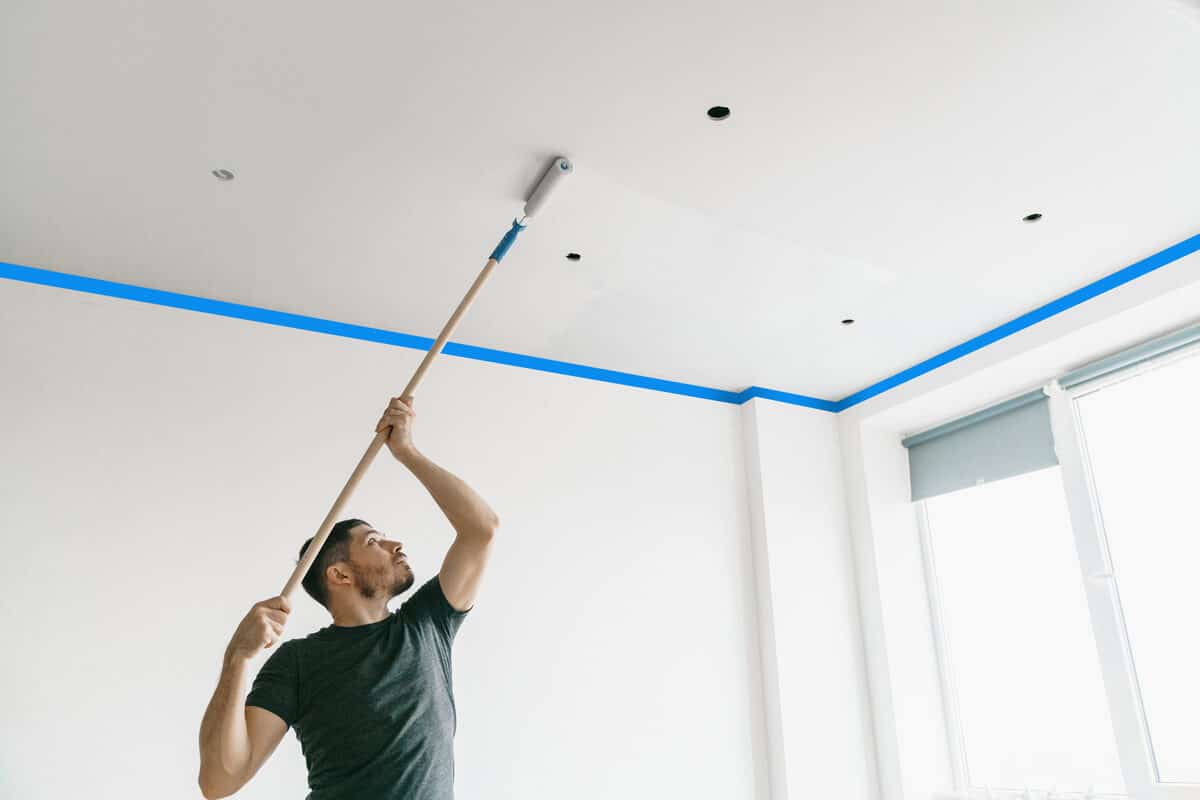
Step 3: Painting Ceiling with a Roller
Using a roller ensures a consistent and efficient application of paint.
- Choose a medium nap synthetic roller (10-18mm) for the best coverage.
- Load the roller evenly with paint using a roller tray.
- Start in one corner and work in one-metre sections, moving the roller in a parallel motion.
- Roll across, then down, overlapping slightly with the previously painted area.
Tip: A 270mm-wide roller sleeve is ideal for most ceilings as it provides efficient coverage while maintaining control.
Step 4: Laying Off for a Smooth Finish
This final step ensures a streak-free and even result.
- While the paint is still damp, take an unloaded roller and start at the top left corner.
- Lightly roll towards yourself in a straight line using minimal pressure.
- Slightly overlap the last stroke with each new movement to eliminate roller marks.
- Repeat until the entire ceiling has been smoothed out.
With these steps, you’ll achieve a beautifully painted ceiling with a smooth, streak-free finish. Happy painting!